Easy Installation of Cable Trays
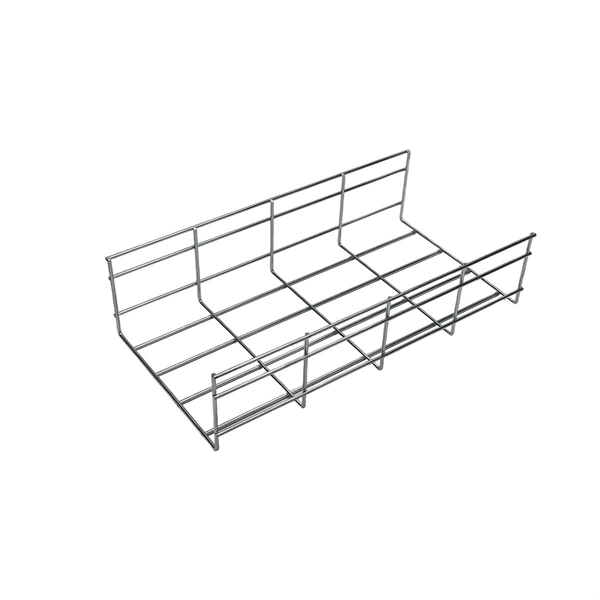
Installing cable trays can be straightforward if you plan the route, choose the right tray type, size it correctly, and secure it with proper supports.Step 1: Plan the RouteBefore installing, map out the cable tray path considering clearance, load capacity, and separation from other utilities like pipes or HVAC ducts. Mark support points and locations for bends, tees, or risers using a chalk line or laser level to ensure straight and level alignment throughout the run .Step 2: Choose the Right Tray TypeSelect a tray type based on your project needs:Ladder trays: Ideal for heavy cables and good airflow.Perforated trays: Suitable for lighter loads.Solid-bottom trays: Protect cables from dust or debris.Wire mesh trays: Flexible and easy to cut for complex layouts .Step 3: Size the Tray CorrectlyCalculate tray width and depth based on the number and type of cables. Avoid undersized trays to prevent overheating and oversized trays to save space and cost. Follow manufacturer guidelines and local electrical codes for fill ratios, typically not exceeding 50% of tray capacity .Step 4: Install SupportsUse wall brackets, ceiling struts, or trapeze hangers to secure the tray. Standard support spacing is usually 1.5 to 3 meters, depending on tray type and load. Ensure supports are anchored firmly to the building structure to prevent sagging .Step 5: Assemble and Secure TraysConnect straight sections with splice plates or couplers, and install bends, tees, or risers as needed. Align trays carefully, level them, and tighten all hardware to maintain mechanical and electrical continuity. Ground the system continuously to ensure safety .Step 6: Cable ManagementLay cables inside the tray without exceeding the minimum bend radius. Use cable ties, cleats, or straps to organize cables by type or voltage, preventing stress on terminations and simplifying future maintenance .Step 7: Safety and ToolsWear PPE such as gloves, safety glasses, and a hard hat. Essential tools include a power drill, wrench set, measuring tape, level, hacksaw or angle grinder, and a file for deburring . By following these steps, you can install cable trays efficiently, safely, and with minimal hassle, ensuring a neat, accessible, and durable cable management system.