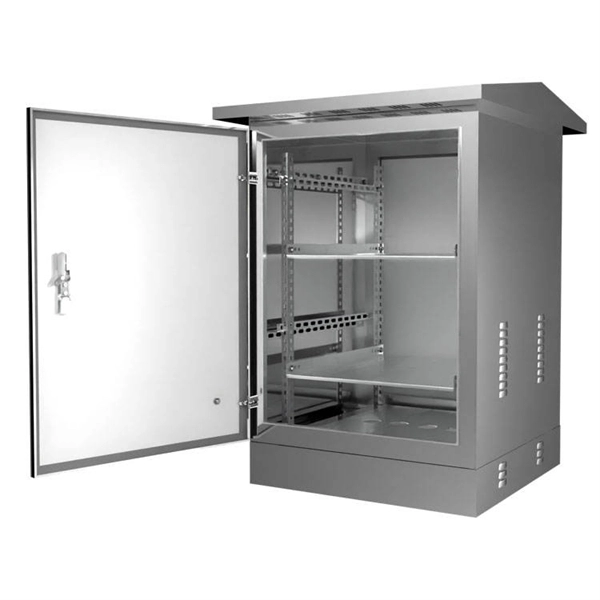
Electrical Installation Process of Distribution Box
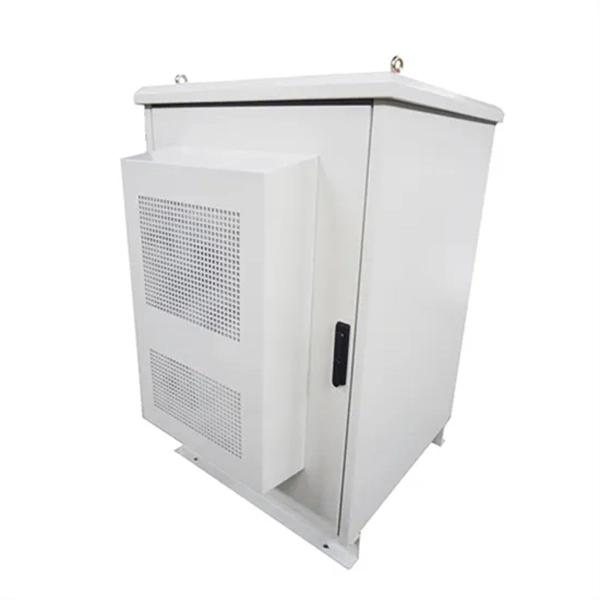
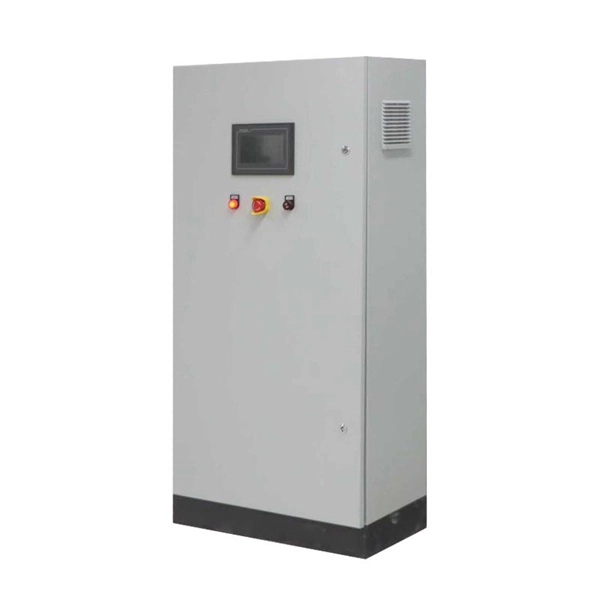
Installing an electrical distribution box requires careful planning, proper placement, secure wiring, and adherence to safety standards to ensure reliable and safe power distribution.Step 1: Select the Right Distribution BoxChoose a distribution box that matches your electrical needs, considering the number of circuits, type of breakers (standard, GFCI, or AFCI), and total load capacity (e.g., 60A, 100A, 200A) ( ). Ensure the box is suitable for the environment (indoor/outdoor) and has the appropriate IP/NEMA rating for protection against dust and moisture ( ).Step 2: Choose a Safe and Accessible LocationInstall the box in a dry, ventilated area, away from water, flammable, explosive, or corrosive substances ( ). The ideal height for residential installations is around 1.5 meters from the floor, ensuring accessibility for maintenance while keeping it out of children's reach ( ). Leave sufficient space around the box for airflow and future inspections.Step 3: Prepare for InstallationBefore starting, turn off the main power supply to prevent electrical shock ( ). Gather all necessary tools and materials, including circuit breakers, wires of proper gauge, grounding bars, and protective gear such as insulated gloves and safety goggles ( ). Conduct a site survey to confirm the installation location is suitable and free of obstructions ( ).Step 4: Mount the Distribution BoxSecurely fix the box to the wall or mounting surface, ensuring it is level and stable ( ). For outdoor installations, ensure the box is waterproof and protected from environmental exposure ( ).Step 5: Wiring and ConnectionsConnect the incoming live wire to the main terminal of the distribution box ( ).Install circuit breakers in their designated slots and connect each circuit wire to the corresponding breaker ( ).Ensure proper grounding of the box and all metal components to prevent electric shock ( ).Connect the neutral wire correctly to balance the electrical load ( ).Organize wires neatly using cable ties or channels to prevent crossing and reduce the risk of short circuits ( ).Step 6: Install Protective DevicesInclude circuit breakers, fuses, and surge protectors for each circuit to prevent overloads, short circuits, and voltage spikes ( ). Verify that each device is correctly rated for the intended load ( ).Step 7: Testing and VerificationBefore powering on, perform visual inspections and use a multimeter to check for secure connections, proper insulation, and absence of short circuits ( ). Double-check all wiring against local electrical codes to ensure compliance ( ).Step 8: Labeling and DocumentationLabel all circuits clearly for easy identification during maintenance or troubleshooting ( ). Record installation details for future inspections and upgrades ( ).Step 9: Maintenance and InspectionSchedule regular inspections to check for loose connections, corrosion, or wear ( ). Ensure the box remains clean, ventilated, and free from obstructions to maintain long-term reliability ( ).Common Mistakes to AvoidWorking on a live system without shutting off power ( )Overloading the box with too many circuits ( )Poor grounding or loose connections ( )Using undersized wires that can overheat ( ) Following these steps ensures a safe, efficient, and code-compliant installation of an electrical distribution box, providing reliable power distribution and minimizing the risk of electrical hazards.